Copic Markers Ciao 12 Basic colors
BLOG CANDY!!!
BLOG CANDY!!!
A $52.00 Value

at
ABC TOYS AND CRAFT BLOG






 What a fun sketch... I had so much fun creating this card using Teresa Klines Sketch for Julee's 134th Mojo Monday. This card has so many layers and that's what made it so fun to play with. I decided to use that to my advantage. I haven't really played with the new paper pack (Sweet Pea) I ordered from the the Stampin' Up occasional mini catalog so I broke it out and WOW are there are SOOO many fun papers to choose from. If you haven't seen it you HAVE too.. It's soo Yummy!! You can see it here.


 Happy Easter Weekend everone.. I wanted to share a FREE tutorial with you all for Easter...


Step 3: Fit the original package with carrots in the new outer box to see the fit.


 Step 5: Assemble using sticky strip
 Step 6 : Check fit of new box.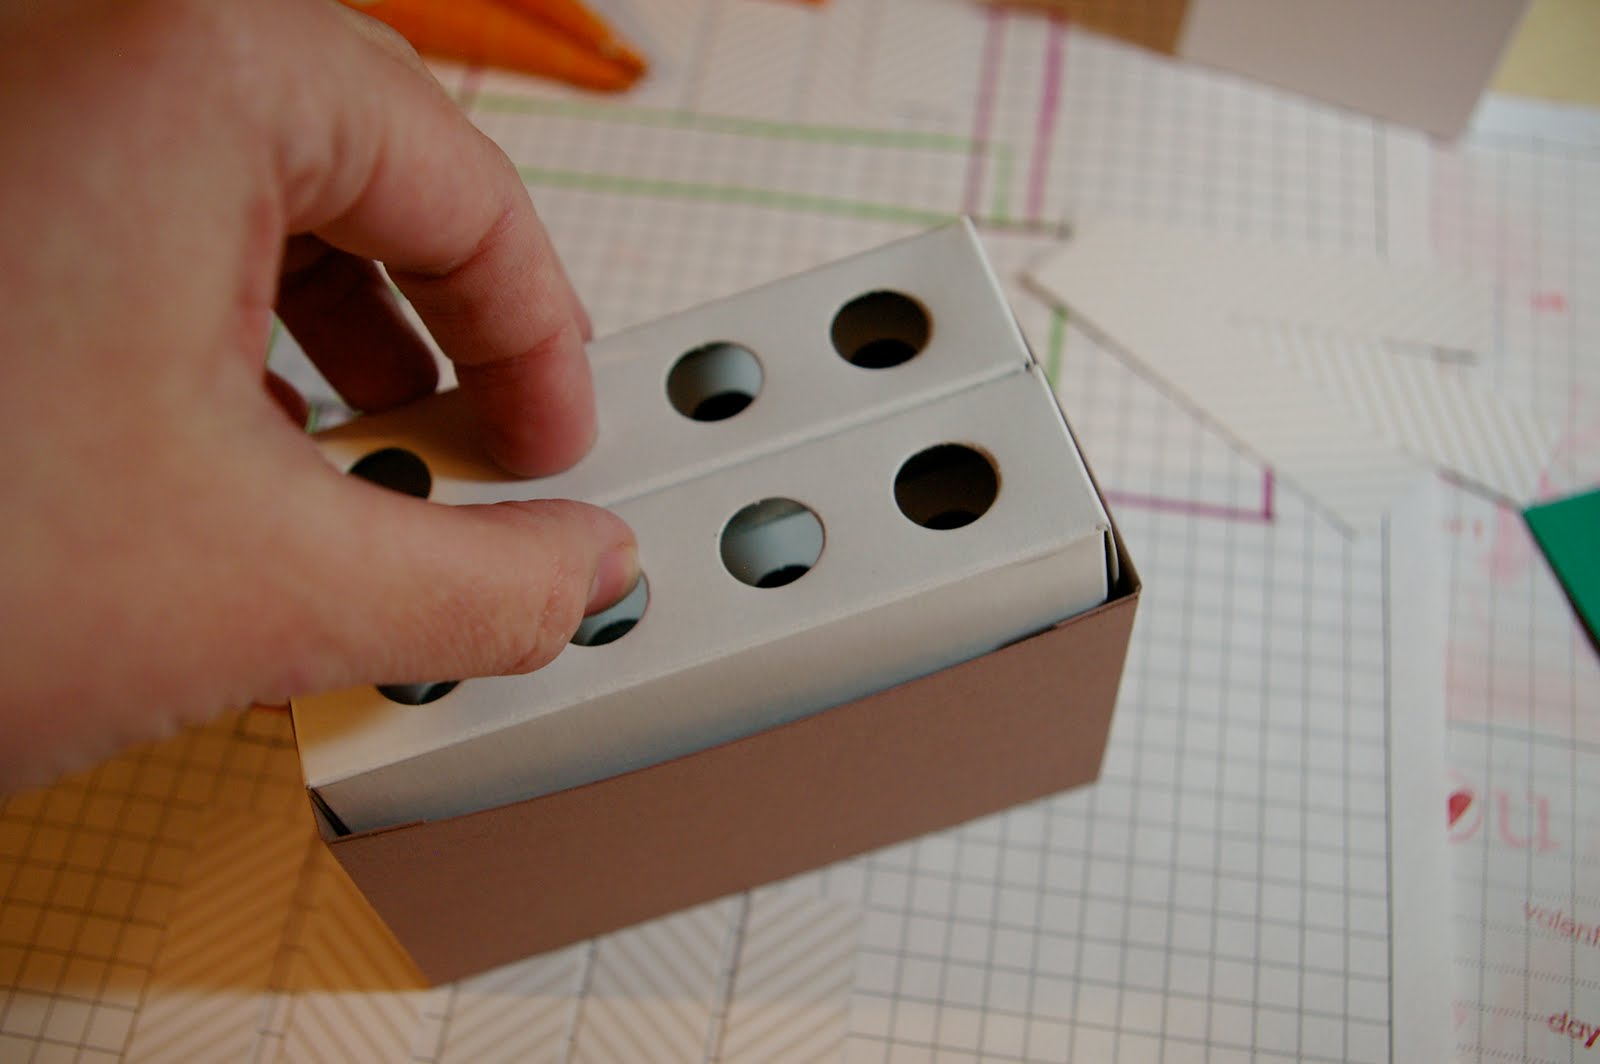

Step 7 : I used the same base with original dimensions for the dirt template in Close to Coco so the carrots can rest in a patch of dirt. By using the original dimensions this will allow the dirt to set inside your new box.
 Step 8 : I wanted to carrots to be able to stand up straight and also line up with the original box. I made the top layer(dirt) hole smaller than the original. Sense my circle punch wouldn't reach this far in I made a template with the original hole seen to the right and traced them on the finished dirt and made the circle just smaller than the original hole.
 Step 9 : To create a hole that had a little grab I used an craft knife to cut lines as if you were cutting a pizza then pushed all the wedges from the top finished side to the inside of the box. Now when you insert the carrot it will help balance it with the original box holes.
Step 10 : Assemble box using stick strip.
Step 11: Check the fit in for both boxes.
 Step 12: Make the slats.. I found a patten paper that was perfect for a this project to alternate the patter of the wood slats but you can use any paper you wish.. I cut where the pattern intersected but you can adjust the slats to work with the paper you use.
 Step 13 : Round the top corners of each wood slat.
 Step 14 : Ink the sides of each slat with color of your choice.
 Step 15: Cut a 1/4 in strip of paper, ink it up like the wood slats and attach all the way around the box as seen below.. I cut a piece of grass out ahead of time to make sure I like the placement of the wood slats. The grass was not permanently attached.. You can see I even change my mined on the color later. When you are happy with the hight of the slats you can trim off the edge of one then measure and cut all the slate in advance.
 Step 16 : Make a pencil mark where the top of the original box is on the outer box and measure the hight. This is how far you will cut the blades of grass. Seen in step 18.
Step 17 : Use the original measurements of the box to get the hight of the grass needed. use the measurements from step 16 to mark how far dow to cut each blade of grass I used my paper trimmer and cut each blade 1/8 in. Then cut the glass blades a different angle by hand. Finish off with ink to help all the blades stand out.
Step 18 : Adhere grass to inside of new outside box with sticky strip.

Step 19: Using the Crop-a-dile hand tool to punch a whole in the side and set the Jumbo Eyelet using this tool as well.

Step 20 : Put stick strip around the outside of the paper dirt piece and put inside the box push side into the paper dirt so the stick strip will attach. Step 21: Bend and arrange the grass to have a life like quality.
 Step 23: Form a handle for your basket. With a strip of paper about 1.5 in" start to wrap around a large marker to help give a cylinder shape that will overlap. I used my Versa-Marker. You can trim of the excess when you have the shaper you like. The extra length gives you something to pull on for shaping.
 Step 24 : Attack Stick Strip to the inside of one edge. Remove tape and use a 1/2 in " circle to use as a temple for desired size.
 Step 25 : cut to small holes using your 1/8th in" hand held circle punch. Then center the two holes and punch a 1/2 in"circle punch. These will be the sides of the handle.
 Step 27: When dry add a little Close to Coco ink to give life to the handle.
 Step 28 : String the handle on desired length of wire like a bead. I used a mini glue dot on both ends applied to the wire by sliding it into the 1/8 in" with a paper piercing tool and slid the handle to the desired spot to help hold in place.

 Step 31 : Create a fitting tag for the basket.